House rendering
House rendering in Harrogate
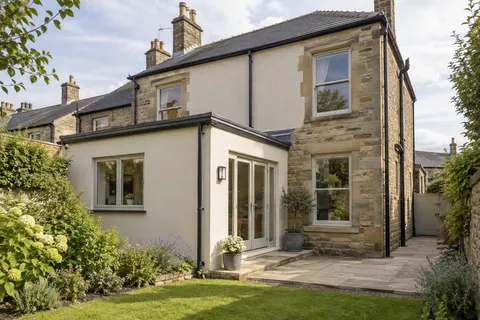
Re-rendering a house takes every rendered elevation through the same sequence: finding out what the existing render is doing, removing what has failed, repairing the wall behind, applying new coats and finishing the edges around windows, bays and the roofline. In Harrogate the house in question is often Edwardian or inter-war, where render was part of the original design, or a later extension on the back of a stone villa.

On this page
Which Harrogate houses are rendered in the first place
The 2010 Harrogate Conservation Area Character Appraisal describes the heart of the town as carboniferous sandstone, sometimes called gritstone, under Welsh slate. Render comes later. The appraisal notes that brick and render begin to rival stone in the Edwardian period, and that the later houses of the Duchy Estate often have brick to the ground floor and render above, with half-timbering, Rosemary tiles and occasional pebbledash. A whole-house re-render here usually renews a finish the house was built to carry.
A stone villa is a different case. Covering bare sandstone changes the building completely, and the government’s householder permitted development guidance says cladding any part of a house with render is not permitted development in a conservation area, so it needs a planning application. If the walls you have in mind are stone, read the lime rendering and repair pages before assuming a new coat is the answer.
- Scaffold and protection Windows, doors, paths and planting are covered; downpipes, lights and satellite brackets come off.
- Old finish tested or removed Failed render is removed; the survey decides whether any sound areas can remain within the specified system.
- Masonry repairs and beads Cracked bricks and open joints are repaired; corner, stop and base beads are fixed.
- Base coats Sand-and-cement scratch and float coats, or a manufacturer basecoat with mesh.
- Finish coat A painted, scraped or thin-coat coloured finish, applied in suitable weather.
- Fittings and junctions Fittings are refixed through the new surface; sills, roofline and abutments are sealed.
The usual order of work. The survey and the chosen products decide the actual steps.
What happens to the walls, in order
Most whole-house jobs start with scaffold on every elevation and a tap test: the render is knocked lightly, and areas that sound hollow have lost their bond with the wall. Where most of a face rings hollow, or the render has cracked into loose plates, it is hacked off back to the brick or block. Where it is sound it may be kept and overcoated, which saves disruption but carries any hidden weakness into the new work.
Once the wall is bare, the real repairs show: cracked or missing bricks, perished joints, tired lintels and holes left by old fixings. These are made good first. Hollows deeper than a normal coat are dubbed out in separate layers rather than one heavy fill, and dense or smooth surfaces get a bonding primer or stipple coat so the next layer has something to grip.
Scaffold the house and protect windows, doors, paths and planting.
Tap-test each elevation and mark hollow, cracked and sound areas.
Hack off failed render and remove redundant fixings.
Repair brickwork, joints and lintels; dub out deep hollows in layers.
Fix beads: bell-cast above the DPC, angles at corners, stops at stone and reveals.
Apply the base coat, bedding mesh where the system calls for it.
Apply the finish coat, or primer and thin coat, and texture it.
Protect the work from sun, wind, rain and frost; refit fittings.
Choosing the new finish
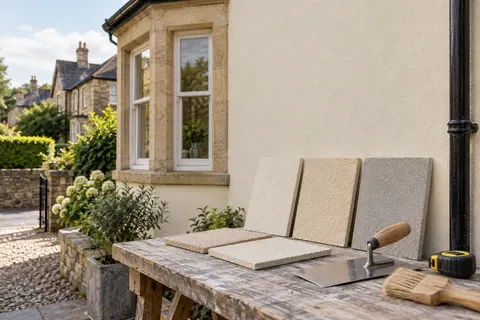
There are four common families. Sand-and-cement render goes on as a scored scratch coat and a floated top coat and is then painted with a masonry paint. Through-coloured renders such as monocouche carry their colour in the material and are scraped to a texture instead of painted. Thin-coat silicone systems use a cement-based base coat with mesh, a primer and a resin finish only as thick as its grain. For an older solid wall where moisture has to escape through the surface, lime render usually suits better than any of the three.
On the Duchy’s render-and-half-timber houses the new finish also has to sit within the timber framing and below decorated bargeboards, so a heavy build-up can swallow the edges of the timbers. Ask for the total thickness of the proposed system, not only the name of the finish.
Edges that decide whether it lasts
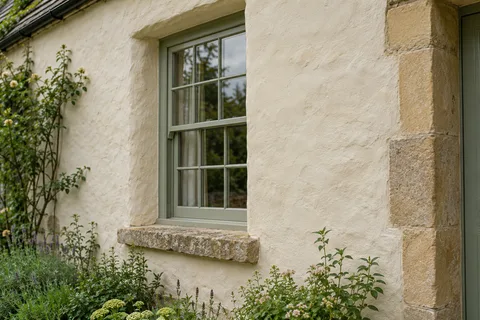
Most render failures start at an edge. At the foot of the wall, the render stops on a bell-cast bead just above the damp-proof course; the bead gives a straight line and kicks the bottom edge out so rain drips clear. Render carried down past the DPC to the ground gives moisture a route around it and stays wet along the base. Around windows, the render turns into the reveal on an angle or stop bead and meets the sill, which needs a working drip so water falls clear of the face below. Where render meets a stone surround, bay or quoin, it should finish on a clean line against the stone, never feathered onto it.
Downpipes, satellite brackets, lights and alarm boxes come off before work starts and go back on the finished surface, with their fixings sealed so they do not become new ways in for water.
Drying, protection and upkeep
Each product has a weather window. K Rend, for example, says its Silicone TC thin coat needs at least 5°C in the air and on the wall, should not be applied in strong sun or wind, and must be protected from rain and from drying too fast. That is why scaffolds are often sheeted and why work pauses in a cold snap. Afterwards, keep gutters and downpipes clear so no strip of render is soaked repeatedly, clean green growth with a suitable biocide rather than a pressure washer, and deal with small cracks before frost opens them.
Common questions
Can I keep the old render and just put a new finish over it?
Sometimes. If tap-testing shows the existing render is well bonded and the cracks are fine, a new finish or coating can go over it after cleaning and priming. If large areas sound hollow, the new layer inherits that weakness, so the failed parts have to come off first.
See housing and planning information for Harrogate and nearby places, including the source and geography behind each figure.